You've spent all summer growing herbs. Learn when to harvest them for the best flavor, then use one of these five methods to dry fresh herbs and store them so you can use them all winter long. How to harvest, dry and store your homegrown herbs.
How to dry and store homegrown herbs
There's always room to tuck in an herb plant here and there, no matter how much or how little space you have.
If all you have is a patio or even a windowsill, herbs grow well in containers and pots and don't take up much space at all
I've been using my homegrown herbs fresh all summer as well as drying them for use over the winter.
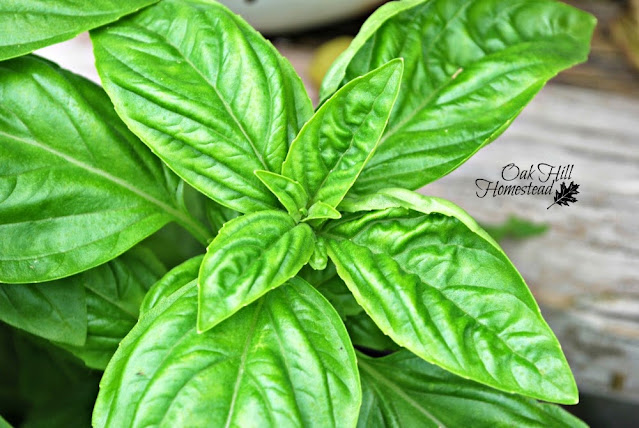
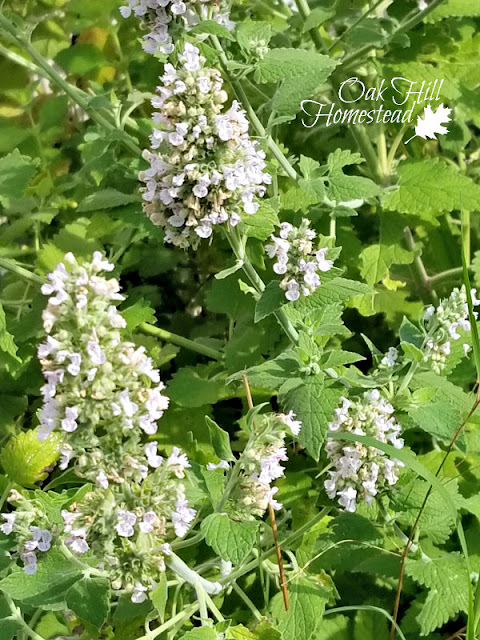
This year I am drying and storing lemon balm, catnip, basil, calendula flowers, rosemary, rose petals, thyme, paprika and cayenne peppers, and more.
There are many ways to dry herbs, and I think I've used them all at one time or another.
All of them are easy. The only special equipment used is a dehydrator, but I'm going to show you several ways to dry your homegrown herbs without a dehydrator.
When to harvest herbs
Whichever method you use to dry your herbs, harvest your plant material in the morning to retain all the scent and flavor, after the dew has dried.
If you're harvesting leaves, do so before the herbs begin to flower.
By cutting your herbs back several times over the summer you'll prolong the growing season. As soon as herb plants flower and produce seeds, the plants won't be focused on producing leaves any longer.
Pruning herbs encourages the plants to grow more stems and more leaves, and will result in bushier plants. By pruning your plants regularly you'll have plenty of leaves to use fresh and to dry for use over the winter.
After cutting, remove any dirt, wilted leaves, bugs, and so on from your herbs.
For most of the following methods, you'll strip the clean, dry leaves from the stems, and lay them in a single layer to dry.
Five methods to dry your homegrown herbs
Use one of these five methods to dry your herbs.
- Hang them to dry
- Dehydrating
- Oven-drying
- The "redneck dehydrator"
- Air drying
Only one of them requires a dehydrator!
Hang bundles of herbs to dry
For this method though, you don't strip the leaves from the herb stems.
Instead, cut the stems off of your plants, tie several stems together with string, and hang them in a warm, dry, well-ventilated place until dry.
If you don't have a convenient beam from which to hang your herb bundles, take a look at this hanging herb dryer frame.
Small bundles work best, allowing air to circulate around each stalk.

For thick-leaved plants such as mullein and comfrey, I used to use a needle and thread to string them, then hang the string so the leaves can dry without touching each other. Running a fan gently will help to increase the airflow and help the leaves to dry completely.
Then I discovered the octopus, a clothes drying rack, recommended by my son-in-law. It has a hanging hook, and eight "arms" with two clothespin-like clips on each arm, for a total of 16 clips.
It's perfect for those big leaves. I hang one big leaf per clip, or two small ones back-to-back in a clip, so that they'll curl in opposite directions as they dry. I can fill this clothes drying rack with at least sixteen leaves at a time. There is a larger model here with 24 clips.
If you aim a fan at the octopus at just the right angle, it will revolve in the breeze.
How to dry herbs in a dehydrator
To dry your homegrown herbs in a dehydrator, lay the clean, dry herbs on your dehydrator rack and dry at the lowest temperature possible. I use my L'equip dehydrator that has a thermostat I can adjust.
Many dehydrators often only have one heat setting, or a choice of Low and High heat. The lower the heat setting you can use to dry herbs, the better.
For very small-leaved herbs such as thyme, set a fruit leather sheet on the tray before adding your herb leaves so they won't fall through the openings in the tray.
How to dry herbs in an oven
After you've made dinner and turned off the oven, lay the leaves in a single layer on a cookie sheet and set it in the cooling oven overnight. By morning they'll be dry.
Wait until the oven cools off a bit before putting the cookie sheet inside though. You don't want to cook your herbs.
Depending on how thick your leaves are, you may have to do this more than once to get them completely dry.
And don't forget that your herbs are in the oven the next day and turn it on to preheat to cook dinner!
The redneck herb dehydrator
Don't laugh, this actually works well. Plus it's easy and it's free!
Lay your herbs on cookie sheets or in paper bags and put them in your vehicle on a sunny, summer day. You know how hot it can get inside your car on a summer afternoon, right?
Added bonus: your car will smell heavenly!
The length of time this method will require depends on what kind of herbs you're drying, the climate where you live and how hot and humid it is that day. Check on your herbs periodically and remove them from the vehicle when they are dry.
How to air dry herbs
This is the best way to dry small-leaved herbs such as thyme and oregano.
- For these small-leaved herbs, do not remove the leaves from the stems.
- For larger leaved herbs, strip the leaves off
Lay the leaves or stems in a single layer in a flat-bottomed bowl or on a tray or towel. Then just wait until they're dry. Stir them up gently each day with your fingers, so that they are rotated and all sides of the leaves are exposed to the air.
Or try this hanging herb dryer from Amazon that folds up flat for storage. Because it's completely covered with mesh, you could hang this outdoors in a shady place or on your porch for better ventilation and protection from bugs.
The mesh sides and bottoms also promote faster drying, and it will hold much more herb material than the bowl method.
It can take several days for the herbs to be completely dry, depending on the size and thickness of the leaves, and how many you are drying.
When dry, remove the tiny leaves such as thyme from the stems.
How to store your dried, homegrown herbs
When your herbs are dry, store them in containers with lids. Mason jars are ideal.
Label the jars so you'll know what's inside - don't rely on your memory!
Don't crumble the leaves until you're ready to use your herbs in a recipe. Whole herbs keep better and retain their color, fragrance and flavor longer than crushed herbs.
Store your homegrown herbs in a dark, cool place. Use your home-dried herbs within a year for the best quality.
When you open a jar and inhale the lovely fragrances, you'll be transported back to summer!
How to use your dried herbs
There are so many uses for your dried, homegrown herbs.
Of course you can cook with them. They'll have so much more flavor than a little jar of dried herbs from the grocery store, which might have been sitting on the store shelf for months before you bought it.
But you can use your dried herbs in many other ways too, such as:
- Make your own tea blends
- Infuse herbs in oil to use in salves and soaps
- Make tinctures and oxymels
- Infuse your homegrown herbs to make delicious herbal vinegars (learn how to make your own vinegar from scratch in my free ebook!)
- Mix with other dehydrated fruits and plant materials to make potpourri and make your home smell wonderful!
- Make handmade paper embedded with herbs and flowers. Use these directions here from Nature's Seed.
- Make your own cayenne powder, or other powdered herbs.
- Use your herbs to make your own seasoning blends, such as this chili powder.
Do you need some help deciding what herbs to grow? This article will help: What Herbs You Should Plant in Your Garden.
So what are you waiting for? Prune those herbs and dry them for use in your kitchen, your craft room and more!
You'll find all of my gardening posts here.
For more self-sufficient posts like this, subscribe to my weekly-ish newsletter The Acorn, and join me on Facebook, Instagram and Pinterest.
What to Plant in Your Herb Garden
DIY Cayenne Pepper Powder
How to Start Seeds Indoors
~~~~~


