How to pressure-can chicken stock
Chicken stock is so easy to make, and you can learn how to make it yourself here: how to make homemade stock.
It's also very inexpensive since you use bones left over from your chicken dinner, plus vegetables from your garden or from previous meals.
And it's so much better than anything you can buy at the grocery store, as well as being healthier, without any additives or preservatives.
The difference between broth and stock
Chicken broth and chicken stock are almost the same thing: stock is made from mostly bones, and broth is made from meat. Other than that slight difference in ingredients, they are made in basically the same way.
Stock and broth are also interchangeable in recipes. If a recipe calls for stock and all you have is broth, use it!
That also applies to beef stock, fish stock, and bone broth too.
It's just as easy to make turkey stock from your holiday turkey, and to make beef stock too. They are all pressure-canned the same way as chicken stock.
How long does chicken stock last?
So let's say that you gave stock-making a try and now you have several quarts of rich, homemade chicken stock in the refrigerator.
You can store chicken stock in the refrigerator for 3 or 4 days, or you can freeze it for up to 3 months, according to the USDA. Or you can pressure can it and keep it on your pantry shelves for up to 2 years,
How to preserve homemade chicken stock
The instructions for preserving broth and stock are the same. Choose a method and use it on either stock or broth.
First, make a big batch of soup that uses chicken stock in the recipe, like Tortilla Soup or Broccoli and Cheddar Soup to use up some of that delicious stock. Then preserve the rest of your stock to use in the future for a quick meal.
How to freeze chicken stock or broth
The quickest and easiest way to preserve stock and broth is to freeze it.
Measure your stock into freezer containers in the quantities you use most - quarts, pints, one cup or even half-cup quantities. Or preserve this batch in quarts and the next batch in pints.
I like having some one cup and half-cup containers on hand too. Sometimes a recipe calls for just a small amount of chicken stock.
Label your zippered freezer bags or freezer containers with the contents, amount and date, and put them in the freezer.
When you need a cup of chicken stock, use the container with the oldest date first. Since you've labeled the containers, you'll know it has chicken stock in it and not apple juice or enchilada sauce, right? I learned that lesson the hard way.
The disadvantage to frozen chicken stock is that you have to thaw it. You can move a container to the refrigerator and let it thaw overnight, or you can heat the frozen stock in a saucepan on the stove until it's thawed.
How to pressure can chicken stock or broth
Or you can grab a jar of chicken stock from the cupboard, open the lid and pour it right into the dish you're making.
In order to do that, you must pressure can chicken stock or broth. Unfortunately, you cannot use a boiling water canner to can meat or broth, you must use a pressure canner. Also you cannot use a pressure cooker to can chicken stock; use a pressure canner such as this one.
Read more about the difference between pressure cookers and pressure canners here.
Pressure canning is the only safe way to can low-acid foods such as broth or stock. Fruits and fruit preserves such as jams and jellies are about the only foods you can safely can with a boiling water bath canner.
Tomatoes can also be water-bathed if you add a bit of acid such as lemon juice. Pickles are acidic so they are safe to water bath can. Everything else has to be pressure-canned.
If you've never used a pressure canner before, chicken broth or stock is an excellent first project.
Are you afraid of your pressure-canner?
I was nervous about using my pressure canner for a long time, even though I'd been using a water bath canner for many years.
I finally took a class put on by my county extension office to gain some confidence before trying it on my own. I still held my breath when I used it for the first time, but the class gave me the courage to make that first effort.
You can find your nearest county extension office here. Just fill in your zip code. The results will include the address, a map, phone number and email address.
Are you afraid or nervous about using your pressure canner too? We've all heard those stories about canners exploding and spewing hot food on the kitchen ceiling, right?
You might even know someone who had one of these accidents - I do. It was very sobering to see the scars she carries on her neck and shoulders from the scalding hot water.
Modern pressure canners were redesigned in the 1970's and are much safer to use now. Pressure canning isn't hard, and as long as you follow the rules - especially the rule about letting your canner cool down naturally and completely before you attempt to open the lid - you'll be just fine.
It gets easier with practice too, so the more you use it, the more comfortable you will be.
Step-by-step directions to pressure can chicken stock or broth
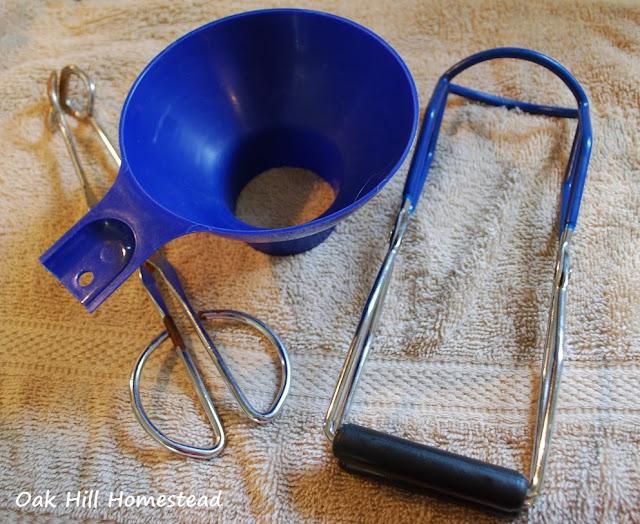
Assemble your equipment before you begin:
- Jar lifter
- Canning funnel
- Tongs or a magnetic lid lifter to take lids out of hot water
- New lids and bands (rings)
- Pressure canner
Use new lids, kept in warm water to soften the rubber. Do not re-use lids.
Your jars will be either regular-mouthed or wide-mouthed, so you'll need regular lids or wide-mouth lids to fit them.
Wash the canning jars before you get started. I run them through my dishwasher.
Keep the jars warm until you're ready to fill them. You can put them in a sink of hot water or keep them inside the dishwasher after the dry cycle finishes.
While you can't re-use lids, you can re-use the metal bands (also called rings).
Your bands will also need to match the size of your jars, either regular mouth or wide-mouthed bands.
Now, let's get down to the basics of using a pressure canner.
Fill the Jars
If you refrigerate your stock overnight after making it, you can remove the fat that solidified on top as it chilled. However, you'll need to heat your stock again before adding it to the jars, so you'd need to remove the fat first.
Then bring the chicken stock to a boil.
You're less likely to break jars by adding hot chicken stock to hot jars that are then placed in hot water in your pressure canner.
Before filling the jars, add the recommended amount of water to your pressure canner according to the instruction booklet. Mine uses 3 quarts of hot water, so I fill a quart jar three times and pour it in the canner.
Turn on the burner under your canner and let the water begin to heat up.
Run your finger around the tops of your empty jars to check for nicks or sharp edges on the rims, which will prevent the lids from sealing. Use only jars that have a smooth rim.
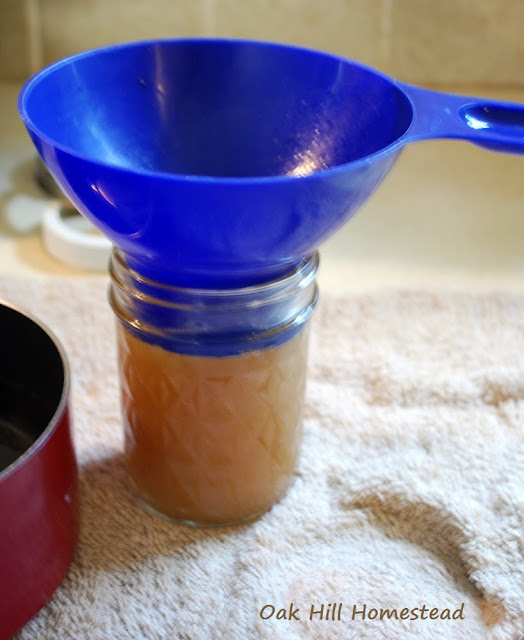
Using your canning funnel, fill your jars leaving one inch of headspace (the amount of space between the food and the top of the glass jar).
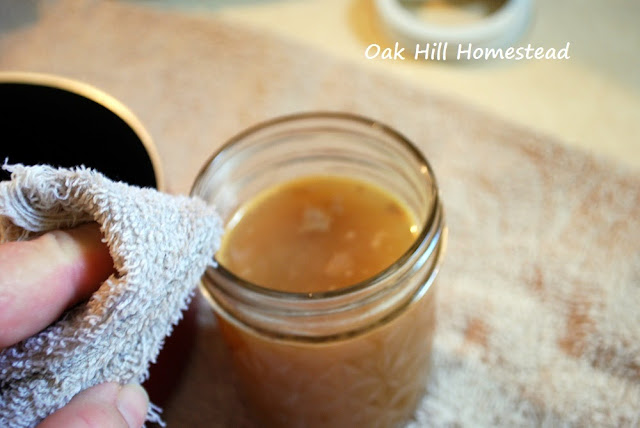
Use a damp cloth to wipe the rim of the filled jars. This removes any food or grease that might have splashed and would prevent the jar from sealing.
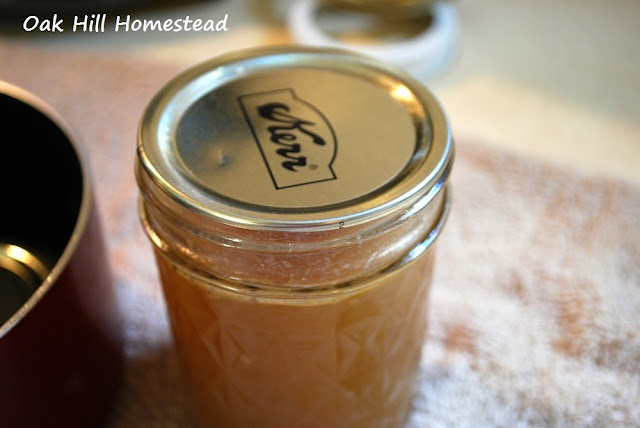
Using tongs or a lid magnet, remove a lid from the warm water where the lids have been waiting and place it on the jar.
Add the ring (band) and tighten just until it's finger tight. Do not over-tighten.
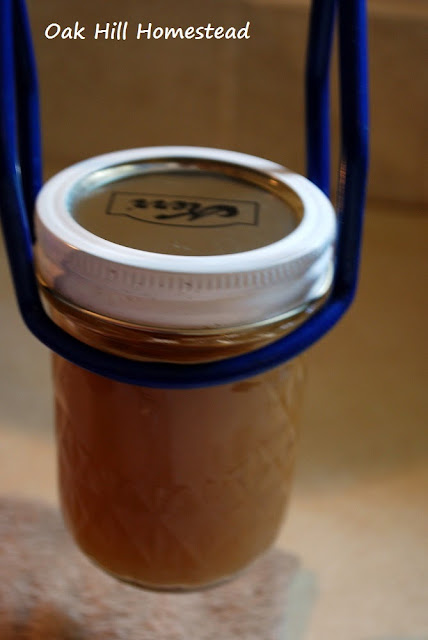
Place the jars in the pressure canner
The filled jars are hot, so use your jar lifter to pick up a jar and place it carefully in the canner. Try not to bang the jar against the side of the canner or against another jar, to avoid the chance of breakage.
Now that the canner is full of jars, follow your canner's directions to close the lid and bring the temperature up. Steam will begin to flow from the vent pipe.
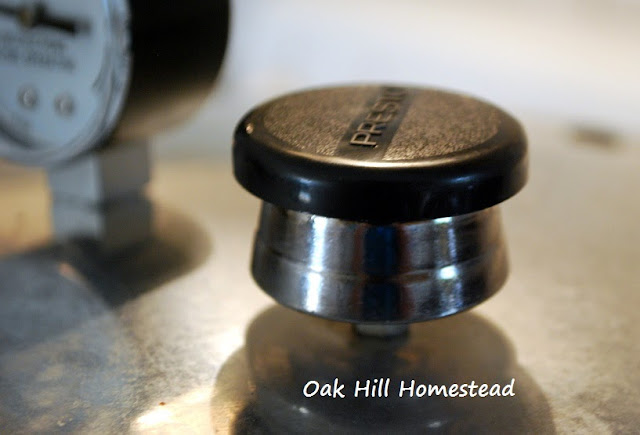
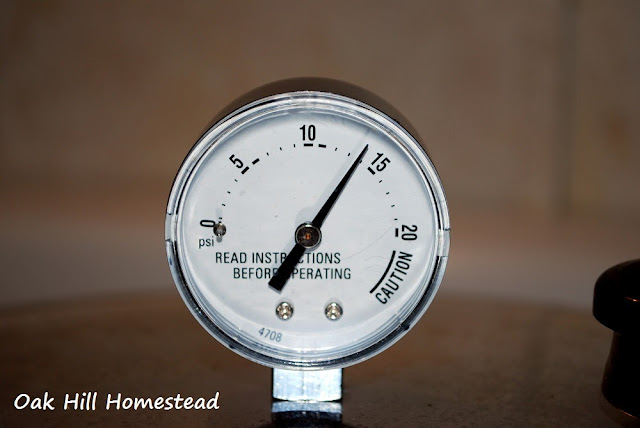
After letting the steam vent for ten minutes, add the pressure regulator (in the photo above) and wait for the dial gauge to register the correct amount of pressure (in the photo below).
When the correct pressure is reached, begin timing.
How long to pressure can chicken stock or broth
Pints of broth require twenty minutes at eleven pounds of pressure if you live between sea level and 1,000 feet altitude. Quarts require 25 minutes.
If you live above 1,000 feet, you'll need to adjust the pressure for your altitude. You'll find the information in the Ball Blue Book Guide to Preserving.
I always seem to have the pressure higher than needed, but as long as it doesn't go below eleven pounds, it's ok.
If your pressure does go below eleven pounds (or the recommended amount of pressure at your altitude), you'll need to bring the pressure back up to eleven pounds and start timing again for the full amount of time required.
When the pressure canner is finished
When your kitchen timer goes off, turn off the heat and move the canner carefully off the burner. It's hot and it's heavy, so be very careful!
DO NOT take the top off or try to hurry the cooling-down process in any way. Let the canner cool down naturally in its own time, no matter how long it takes. This can take an hour, or even longer.
The air vent/cover lock will eventually drop down - that's your signal to proceed - and you can then remove the pressure regulator. Wait another ten minutes after removing the pressure regulator before you remove the lid of the canner.

When you open the canner lid, be sure to lift the side farthest from your face first so that any steam will be directed away from you.
Set the lid aside and use the jar lifter to carefully lift each jar straight up - do not tilt them - and place on a padded surface such as a towel-covered counter.
The jars are still VERY hot, in fact, sometimes the liquid in the jars is still boiling. Don't bump them on anything. Let them rest undisturbed for 24 hours.
Finishing up
After 24 hours, test the lids to see if they've sealed.
If one "bounces" up and down, it did not seal, and you need to either use it or put the contents into the freezer; you cannot store it on a shelf if the jar did not seal correctly.
You can process it again in your pressure canner if you wish, but you must start the process all over again - heat up the stock, fill the jar, and replace the lid with another new one.

After checking the lids, wipe down the outside of the sealed jars with a damp cloth. Remove the rings for storage, label the jars, and admire your hard work. Good job!
The first time is the hardest, and now you'll feel more comfortable using your pressure canner. From now on, the sky is the limit, right?
For more self-sufficient posts like this, subscribe to my weekly-ish newsletter The Acorn and join me on Facebook, Instagram and Pinterest. I'd love to see you there!
~~~~~
no matter your circumstances or where you live. Join me here:
Facebook | Pinterest | Instagram | Subscribe


