Many chicken owners want to hatch replacement chicks at some point. I'm no expert, but I've hatched many batches of chicks, a batch of assorted ducks and the latest, a batch of Muscovy ducks. Here is what I've learned.
This post contains affiliate links. See my full disclosure here.
There are a lot of images in this post; thank you for your patience as they all download. Some of the photos show our chickens' brown eggs as well as some of our white Muscovy eggs - don't worry, your eyesight isn't to blame for the different colors.
The incubator turns the eggs automatically, although it's a rudimentary system. It only holds nine chicken or duck eggs, but one advantage is that it holds them in their natural position - on their side - instead of upright.
I tip them back and forth by putting an object (I use a canning jar lid) under one end of the carton. When it's time to tip the eggs in the other direction, I move the object to the other end of the carton, which tilts the whole thing in the other direction.
It's best to use eggs that are five days old or less, perfect in shape with no cracks. Don't use small eggs or double-yolked eggs, or eggs that are dirty. Don't wash the eggs, as it washes off the natural covering and allows air inside the egg. Handle eggs with clean, dry hands.
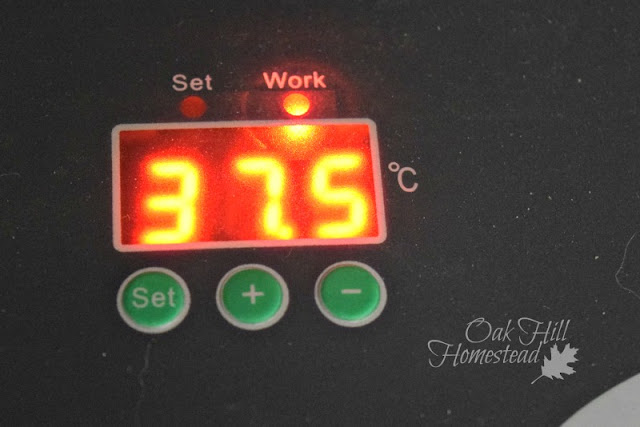
Turn on your incubator and let it come up to the correct temperature keeping an eye on it to make sure it doesn't get too hot or stay too cool. Look here for a chart of temperatures and hatching times. Add a bit of water to create some humidity. You might put a little jar of water in a Styrofoam incubator, or a one-inch square piece of sponge. I just add a small amount of water to the bottom of my plastic incubator. If you need to increase the humidity, you can use a larger piece of sponge.
Pictured above is my DIY egg candler: a powerful flashlight topped with a roll of toilet paper which directs the light through the egg on top. It's really basic, but it works really well. Brown eggs are really hard to candle; it's very hard for me to see anything. White eggs are much easier.
Draw an X on one side of each egg with a pencil, and an O on the other side. If you can see it, outline the air pocket on the end of the egg with the pencil too. (Don't use an ink pen which could crack the egg, and don't use a marker, which will compromise the egg's "bloom.")
If you have an egg turner you won't have to worry about turning the eggs manually, but you should check daily to make sure the turner is working. Without a turner, you'll need to turn the eggs several times a day. The X and O on the eggs will help you know which side should be "up" if you're turning them manually, and if the automatic turner is working properly.
Muscovy eggs need to be cooled daily during the latter part of incubation; this isn't necessary with chicken eggs. I used the directions at this site when I hatched our Muscovy eggs.
Chicken eggs hatch in twenty-one days. Remove the egg turner from the incubator two or three days before hatch time and place the eggs on the hatching tray. Don't turn them any more. You might need to reduce the temperature a bit, and add a bit more humidity. Refer to your incubator's operating manual for this information.
Once the chick breaks the shell, called "pipping," you'll soon have a hatchling. Sometimes the chicks hatch very quickly, other times it takes awhile to break that shell in half and climb out.
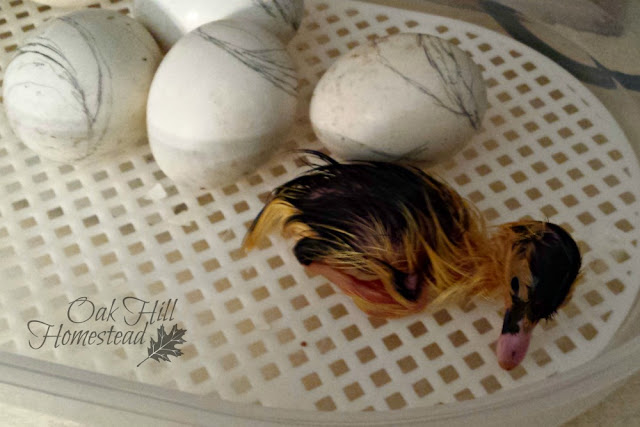
I leave the newly-hatched chick or duckling on the hatching tray until it's well dried. I believe they peep encouragement to their siblings too. When the hatched babies get too active and are bouncing the other eggs around I move them to the brooder.
For more homesteading encouragement and information subscribe to The Acorn, Oak Hill Homestead's weekly-ish newsletter. You'll also find all of my chicken-keeping posts here.
NOTE: Do not feed medicated feed to waterfowl.
This post contains affiliate links (including the images below); if you make a purchase I will receive a small commission but it doesn't affect the price you pay. See my full disclosure here.
~~~~~
My hope is to inspire you, and to encourage your homesteading plans and your dreams of a simple, self-reliant, God-dependent life. You can follow me at:


