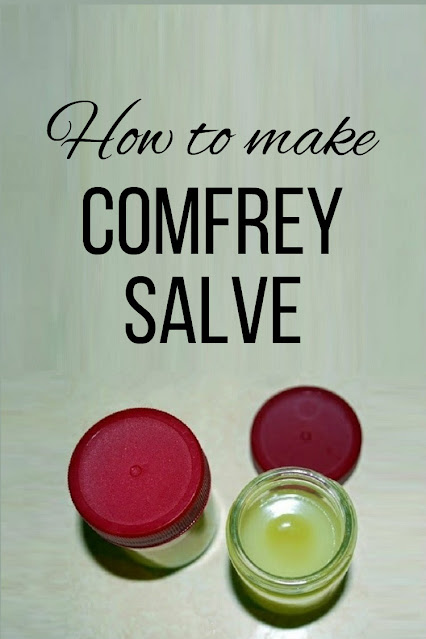
Comfrey salve heals bruises, bug bites and many other skin irritations. Salve is very easy to make and a must-have to keep on hand for life's little bumps and bruises. Here's how to make comfrey salve.
How to make comfrey salve
Every summer I infuse olive oil with herbs, most of which grow wild here on Oak Hill. The oil is then used to make soaps and healing salves.
When I began growing comfrey several years ago for its amazing benefits in the garden, I also began making comfrey salve.
Comfrey is a marvelous herb with many benefits. It has anti-inflammatory properties and speeds the healing of wounds. It's even said to help mend broken bones. [Source]
This post may contain affiliate links, which means if you click on a link and make a purchase I might earn a small commission, but it doesn't affect the price you pay. Read my disclosure here for more info.
Cautions about using comfrey
Many trained herbalists recommend that comfrey should not be used on open wounds. Comfrey heals skin so quickly that it can grow over a deep wound and seal in infection.
Here are a few more cautions:
- People with liver disease, cancer or alcohol abuse should not use comfrey. [Source]
- Comfrey salves and creams should be applied for periods of no more than ten days. [Source]
- There are also cautions about using comfrey internally. [Source]
But in spite of these cautions, I have no reservations about using comfrey topically, although I don't apply it to a large or deep open wound.
About comfrey
Comfrey is an easy-to-grow herbaceous perennial that can reach 36 inches in height and about 32 inches around. Each leaf can be over a foot long.
It takes up a lot of space in the garden, but it's worth it. Turning it into a salve isn't the only way to use it, either. Here are five reasons you should be growing comfrey in your own garden.
The leaves and stems of comfrey are covered with tiny hairs that can be prickly to our skin. Wearing gloves when tending comfrey is advised.
I grow comfrey in my garden, then dry it to use in this salve.
Comfrey leaves can be dried very easily at room temperature. Spread them out in a single layer on a table in a well-ventilated room for several days until they are completely dry.
If you don't grow comfrey, you can buy the dried herb from Mountain Rose Herbs and other online vendors as well as your local health food or herb store.
Infusing herbs in oil using the windowsill [slow] method
The first step to making a salve is to infuse the herb in a good quality oil. I use olive oil for this comfrey salve.
Salves should be made with dried herbs only. Moisture can cause the oil to go rancid or develop mold, so drying out the plant material first is advised.
You can learn more about drying your homegrown herbs here.
Add the dried comfrey leaves to a glass Mason jar, then add the oil so the plant material is completely covered. Put a lid on the jar and set it in a sunny window for a few weeks, shaking gently daily.
Infusing herbs in oil in the slow-cooker [quick method]
If you're in a hurry, you can use your slow-cooker to infuse oils more quickly.
Place the herbs and oil in a jar just as we did above. Do not cover the jar with a lid. Then stand the jar inside the slow-cooker.
Add several inches of water to the slow-cooker, no more than the level of the oil inside the jar to keep it from floating. Be careful not to add any water to the jar itself.
We've created a double-boiler of sorts. Leave the lid off the slow-cooker and turn it on to the lowest setting. The gentle heat of the slow-cooker heats up the water, which will heat up the oil and herbs inside the jar more quickly than the slower windowsill method of infusing
Let the comfrey and oil infuse for several hours.
Strain the infused oil
When you have finished infusing the herbs in oil, pour it through a cloth to strain out the plant material.
Cheesecloth works well, but you can also use well-worn material such as an old, clean t-shirt or a thin dish towel. Let the oil drain into a jar, a glass measuring cup, or a bowl.
Squeeze the cloth to get all the goodness out of the herbs. Discard the herbs or put them on your compost pile.
The infused oil is now ready to make into a salve or other product, or you can store it in the refrigerator until you're ready to use it.
When refrigerated, the oil will turn opaque and become semi-solid. Once it's warmed up to room temperature, it will once again look like the oil you're used to.
What you need to make comfrey salve
Making salve isn't complicated and you don't need a lot of fancy equipment. Here's what you'll need:
- comfrey-infused oil
- beeswax
- a double boiler *
- containers for your salve
*Instead of a double boiler, you can use a glass measuring cup in a pan of water, similar to the DIY double boiler we used to infuse the oil in a slow-cooker.
The handle and the pour spout on the glass measuring cup will be handy in a few more steps, and the heavy glass container won't tend to float in the pan of water like a small bowl might.
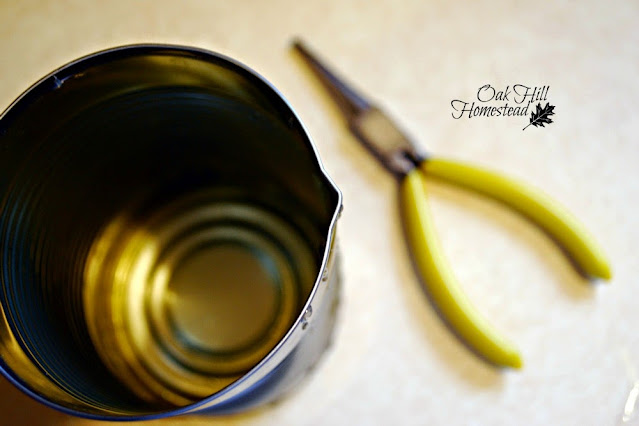
Or you can use a clean, empty can in the pan of water, instead of the measuring cup. You can bend the top slightly with needle-nosed pliers to form a spout.
How much oil to use in your salve
How much oil you should use depends on the container you will use for your salve, and how much it will hold.
You can measure the total volume by filling it with water and then measuring how much water it holds.
That's the total volume your container will hold. You'll need less oil than the total volume though, because you will be adding beeswax, which will add to the volume.
You might start with 75% of the total volume the first time you do this, and increase or decrease the next time you make salve.
How much beeswax to use
The ratio of beeswax to infused oil in salve varies depending on whether you desire a firm product or a softer product that you scoop out with your fingers, and how soft you'll want it will depend on its intended use.
For instance, a jar of salve that you keep at home could be softer than a tin of bug bite salve that you plan to carry in a pocket or purse. The more beeswax you add, the stiffer your final product will be.
My advice is to start with a small amount of beeswax. If your finished salve is too soft or too stiff, you can gently reheat and add either more beeswax or more oil, stir, and pour it back into the container.
For more information on measuring by parts, check out this article.
Making the salve
Add water to the pan you're using to make the salve. Place the glass measuring cup or empty tin can in the water, or set the top pan of your double boiler in place.
Add the beeswax to the smaller pan on top of the double boiler (or the empty tin can, or the glass measuring cup).
The water in the bottom pot should be about the same leve as the wax in the smaller pan if you're using a can, to keep the can from floating and tipping.
Turn the stove on low heat and gently warm the beeswax until it melts. Don't let it boil, heat it just enough to melt the wax. Don't leave melting beeswax unattended.
When the beeswax has melted, add the infused oil and stir gently to combine, then pour your salve into the containers to cool and solidify.
Containers to use for comfrey salve
I save all the tiny, empty glass jars that come my way. They often contain about one ounce of jelly or mustard in those food gift boxes we sometimes get for the holidays.
Metal tins with lids work well for a salve that has more beeswax in it.
I used small 4-ounce canning jars for my dandelion salve.
Amazon carries a nice variety of small jars that are perfect for salves and ointments.
Where to buy beeswax
If you have a friend with bees you already know where to buy beeswax, and it will have a lovely color and scent.
If you don't have a beekeeping friend, you can purchase beeswax online.
Read the label and buy organic beeswax. If the bees have been gathering pollen from fields sprayed with chemicals, those chemicals will be in the wax, in the salve you make, and will be absorbed by your skin.
Caring for your comfrey salve
Keep your jar or tin sealed to keep out dust and other contaminants. Apply sparingly for a period of time no longer than ten days. You'll be amazed at the results.
For more self-sufficient posts like this, subscribe to my weekly-ish newsletter The Acorn, and join me on Facebook, Instagram and Pinterest. I'd love to see you there!
~~~~~
My hope is to inspire you, and to encourage your homesteading plans and your dreams of a


