You can read about my project and the first three crib quilts in my prior posts; here is the first post. You'll also find links at the bottom of this post.
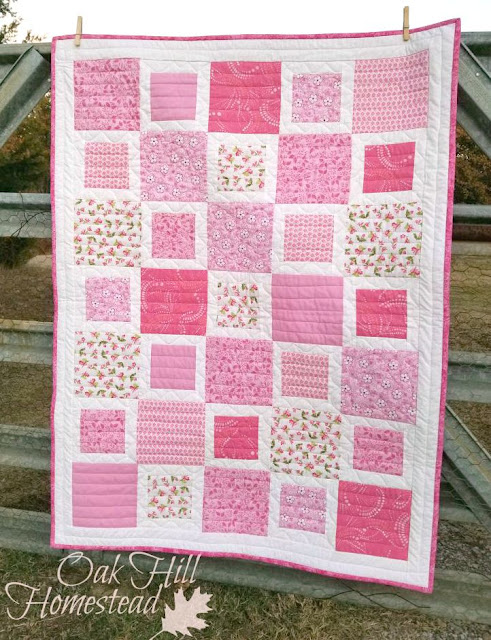
This baby is, obviously, a girl. It was fun to sew in pink again. I finished it several weeks ago but had to wait to share it until it was sent to our daughter, since she reads the blog occasionally and I wanted her to see it in person before she saw it here. It arrived just in time, too. Our little granddaughter came into the world over the holiday weekend!
This post contains affiliate links.
Read my full disclosure here.
Read my full disclosure here.
It's been fun to name each quilt as I worked on it. This one became known as Cherry Blossom since most of the fabrics are floral.
The first step was to sew the white border to the smaller squares. First the top and bottom white pieces are sewn to the square, then the longer white strips are sewn to the sides. The small and large squares are then sewn together in rows, the rows are sewn together to form the top and the white border is added all the way around.
This time when I spray-basted the quilt top to the batting and backing I put the backing on right side up! When you do it right, using the basting spray (affiliate link) is simple, easy and quick. (You can read about the wrong way to spray baste a quilt in this post.) The bond was nice and secure; the quilt sandwich didn't shift or wiggle at all. I'm not sure if it was because the backing didn't have to be pulled off and reapplied, or because I used a different brand of batting.
I learned to quilt years ago by hand-piecing (sewing the patchwork pieces together by hand) and hand-quilting.
Eventually I changed to machine-piecing but continued to do the quilting by hand. It's still my preference, but my fingers don't cooperate like they used to. If I wanted to continue quilting I had to learn how to quilt on my home sewing machine.
It's completely different from hand-quilting, which is peaceful and contemplative; I spent that time praying for the quilt recipient. Now it seems as though I'm wrestling with the fabric sandwich and forcing it to submit to my will. Prayer is more intentional and deliberate, less natural, and I regret that... but there is still prayer!
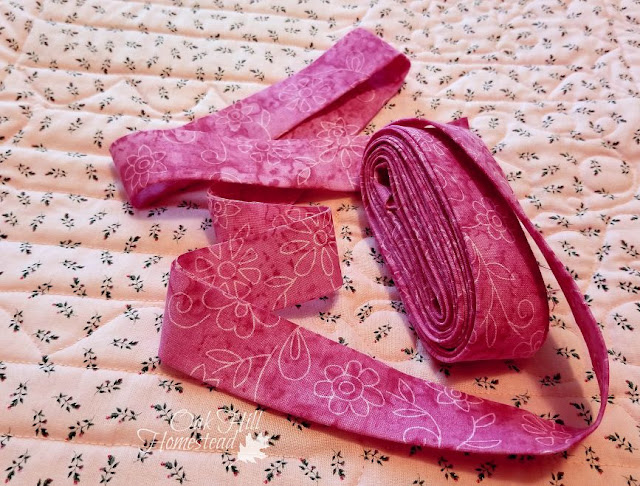
I'm more pleased with the corners of my binding this time. I've learned a secret to making nicely-mitered corners: measure! Yes, I knew that you stop sewing a quarter of an inch before the corner, but I was "winging it" instead of actually measuring. This time my corners look much nicer. The lesson in this is simple: don't guess, measure.
But the spot where I joined the two ends of the binding isn't as nice as I've done before. I've tried watching videos and reading directions online but the trick eluded me.
I'm more pleased with the corners of my binding this time. I've learned a secret to making nicely-mitered corners: measure! Yes, I knew that you stop sewing a quarter of an inch before the corner, but I was "winging it" instead of actually measuring. This time my corners look much nicer. The lesson in this is simple: don't guess, measure.
To have Oak Hill Homestead's new posts delivered to your inbox, click here.
But the spot where I joined the two ends of the binding isn't as nice as I've done before. I've tried watching videos and reading directions online but the trick eluded me.
After I finished this quilt I found this article about binding quilts that looks very helpful. I especially like the part about ironing the corners (but not the quilt itself, just the corners of the binding). I sew the back of the binding by hand, not by machine - I think it looks much nicer - but this tip about the corners might be really helpful in the future.
Links to my previous baby quilts are below. Which one is your favorite?
"Cherry Blossom crib quilt" was first posted on Oak Hill Homestead http://www.oakhillhomestead.com. Any other use is a violation of copyright laws.
~~~~~
My hope is to inspire you, and to encourage your homesteading plans and your dreams of a simple, self-reliant, God-dependent life. You can join me at:
Facebook | Pinterest | Instagram | Subscribe
Links to my previous baby quilts are below. Which one is your favorite?
(no post; click to  | "In the Jungle"  | "Starry Night"  |
"Tide Pool"  | "Foggy Morning"  | "Cherry Blossom" |
~~~~~
My hope is to inspire you, and to encourage your homesteading plans and your dreams of a simple, self-reliant, God-dependent life. You can join me at:
Facebook | Pinterest | Instagram | Subscribe


